S3 E-Type

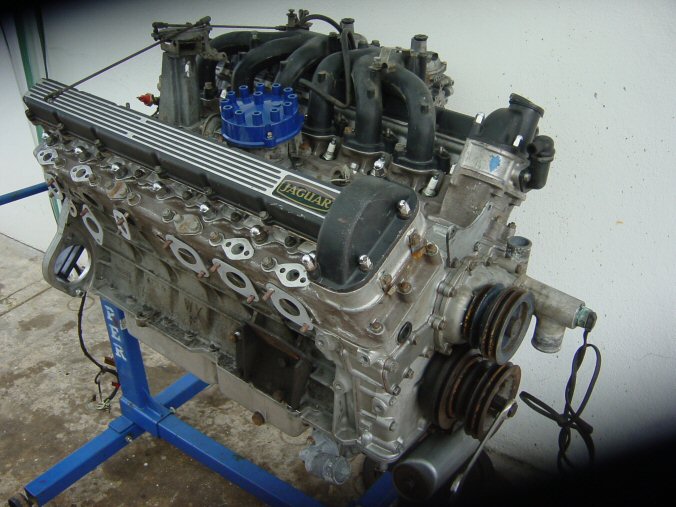
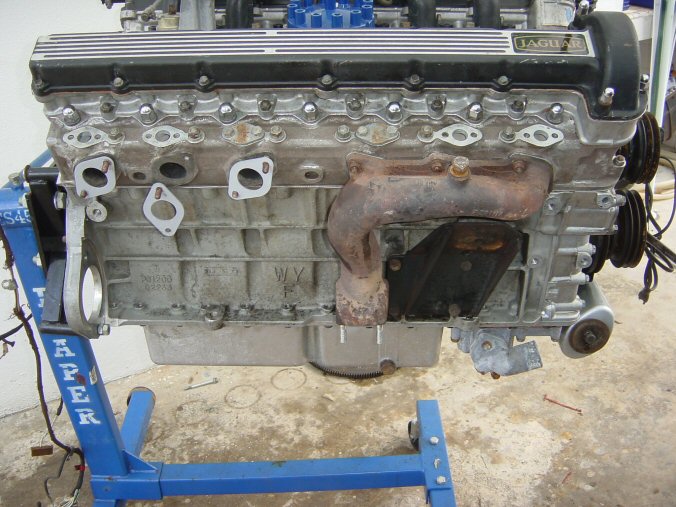
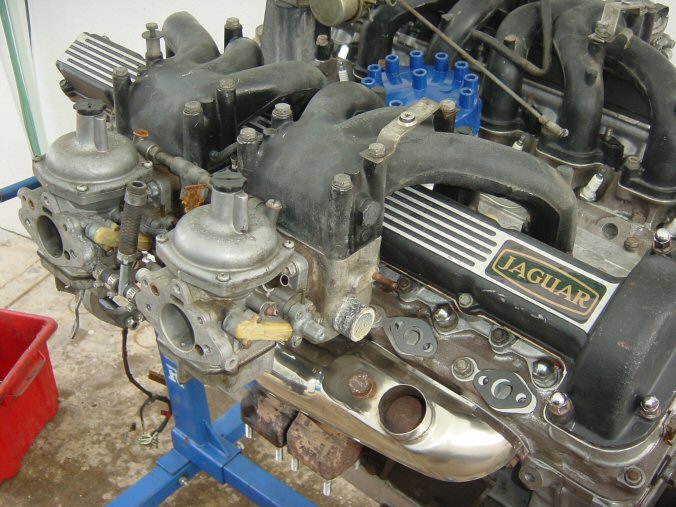
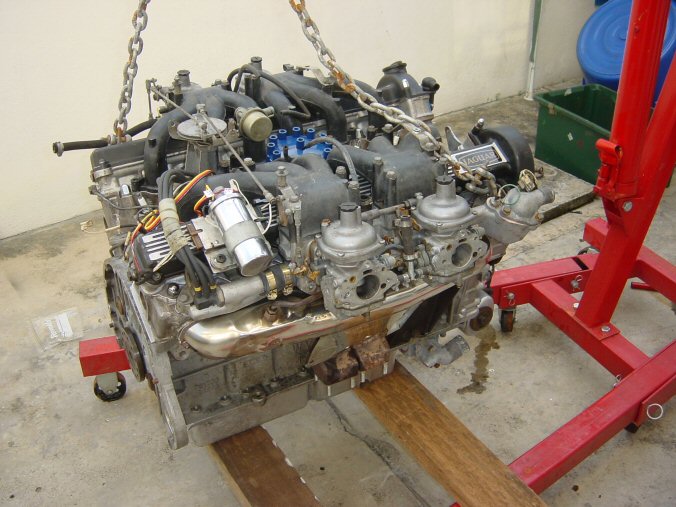
Engine Reassembly II

by Dave Lacey

With the major components all refitted, setting timing is straightforward, as most parts have been 'pre-timed' anyway. Then it's time to release the tensioner; the photo below is a view thru the access hole in the front of the timing cover - you can see the round-ended slot which needs to be twisted with a screwdriver to unlatch the tensioner:

engine_reassembly_01-04-2006_02.JPG


There's a rubber plug to blank that access hole once the operation is completed. Then it's time to grease the cam for start-up and fit the cam covers:

engine_reassembly_01-04-2006_05.JPG

The cam covers got a clean and some new Jaguar stickers...

engine_reassembly_01-04-2006_07.JPG

I hadnt separated the exhaust manifolds from the old downpipe earlier, and now I found that a PO had used construction quantities of exhaust putty to seal the downpipe to the manifold ... It was stuck solid and required some serious heat to shift: Thats the type of gas burner that normally has a large wok on top of it...it can certainly dump a lot of heat into that cast iron:

engine_reassembly_01-04-2006_08.JPG

Most of the studs sheared-off, but I had a replacement set ready to fit (this time they'll be copperslipped nicely). Once i got it apart I could fit the exhaust manifolds followed by the inlet manifolds (still with carbs attached):

engine_reassembly_01-04-2006_10.JPG

engine_reassembly_01-04-2006_13.JPG

The carbs look a bit crusty here, i did rebuild them later....

engine_reassembly_01-04-2006_16.JPG

So, here it is waiting for the gearbox, nearly ready to go back in:

engine_reassembly_01-04-2006_18.JPG
Submit comment
Subject
Username:
Comment: